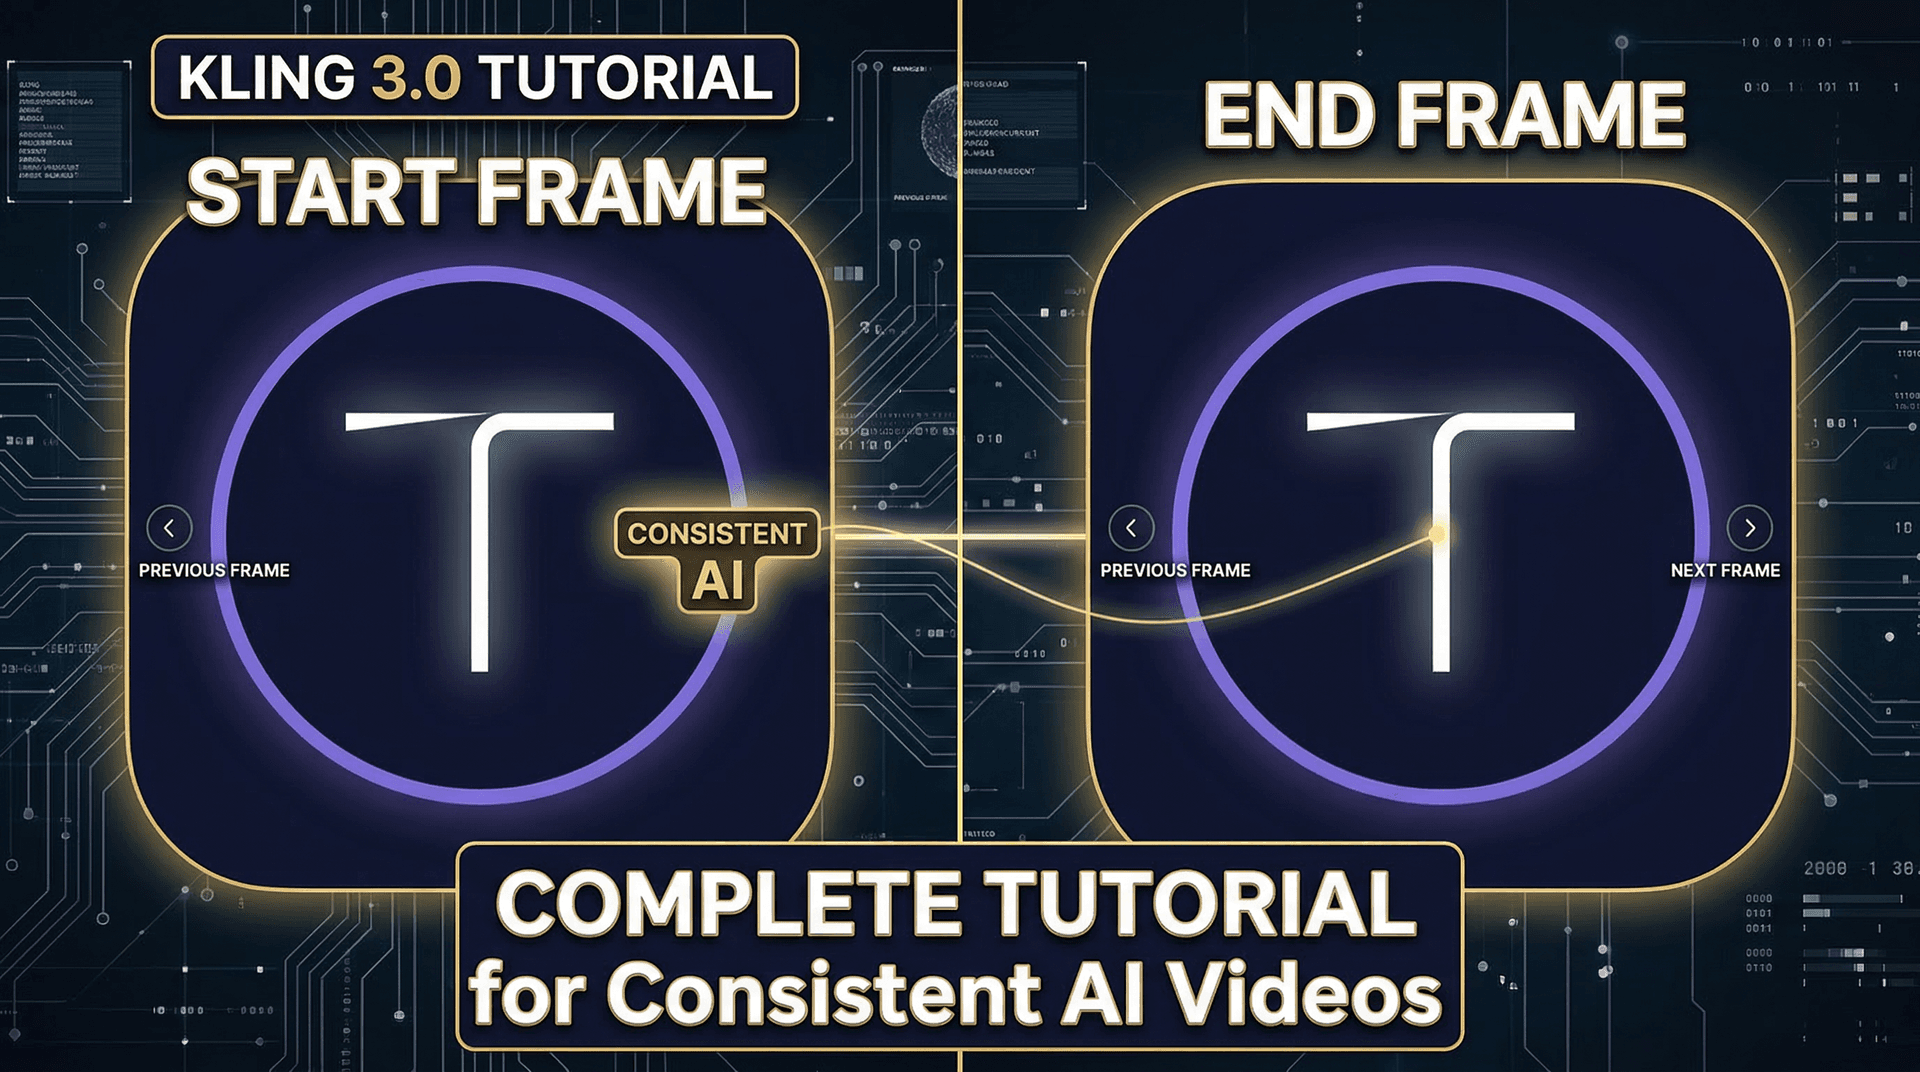
The start and end frame feature is what separates amateur AI videos from professional ones. By giving Kling 3.0 a reference image for where the video should begin and optionally where it should end, you gain precise control over composition, character appearance, and scene transitions.
This tutorial covers everything from basic usage to advanced techniques that professional creators use daily.
What is start and end frame?
In standard text-to-video generation, the AI decides everything about the visual composition. With start frame (also called first frame), you upload an image that becomes the opening frame of your video. The AI then animates forward from that image based on your text prompt.
End frame (last frame) works similarly but defines where the animation should arrive. When you provide both start and end frames, Kling interpolates between them — creating a smooth transition from one composition to another.
When to use start frame only
Use a start frame when you want consistent character appearance. Generate a reference image of your character using Nano Banana 2 or any image generator, then use that as the start frame for your video. The AI will maintain the character's appearance throughout the clip.
Product demonstrations benefit enormously from start frames. Photograph or render your product, upload it as the start frame, and prompt for camera movement. The product stays visually accurate while the AI handles smooth animation.
Brand consistency across multiple videos becomes easy. Create a standard opening composition — your brand colors, a specific scene setup — and reuse it as the start frame for every video in a series.
When to use both start and end frames
Scene transitions are the primary use case. Generate frame A (your starting scene) and frame B (your ending scene), then let Kling interpolate between them. The AI creates a smooth, physically plausible transition that looks like professional editing.
Object transformation videos — showing a product from different angles, morphing between designs, or revealing a before-and-after — work beautifully with both frames defined. The AI fills in the motion between your two reference points.
Time-lapse style content benefits from defined endpoints. Set the start as dawn and the end as dusk, and Kling will generate a convincing time progression between them.
Step-by-step: creating a consistent character video
Step 1: Generate your character reference image. Use an AI image generator (Nano Banana 2 works well for this) to create a high-quality image of your character. Make sure the image is clear, well-lit, and shows the character at the framing you want for the video.
Step 2: Upload the image as your start frame on Tona.AI or the Kling platform. Select Kling 3.0 as your model.
Step 3: Write your animation prompt. Focus on the action and camera movement, not the character's appearance — the start frame handles that. For example: "The person turns their head slowly to the left, looks into the distance. Gentle wind moves their hair. Camera holds steady, shallow depth of field."
Step 4: Generate and review. The character should match your reference image closely while performing the described action. If the result deviates too much from the reference, try making your motion prompt simpler.
Step-by-step: seamless scene transitions
Step 1: Generate two images that represent your scene's start and end states. For example, an empty coffee shop (start) and the same shop bustling with customers (end).
Step 2: Upload both as start and end frames.
Step 3: Prompt for the transition: "Time-lapse of a coffee shop filling with morning customers. People enter, sit down, barista moves behind counter. Smooth continuous movement, no cuts."
Step 4: Review the interpolation. Kling will create a plausible sequence connecting your two reference frames. If the transition feels too abrupt, try increasing the video duration.
Advanced techniques
Chaining clips: Generate a video, export its last frame, then use that as the start frame for your next video. This creates seamless multi-clip sequences where each video picks up exactly where the previous one ended.
Style transfer: Use a stylized image (painting, illustration, specific color grade) as your start frame. The AI will maintain that visual style throughout the animation, giving you consistent aesthetic control that text prompts alone cannot achieve.
Camera path control: Combine start and end frames with camera movement prompts to create precise dolly, orbit, or crane shots. The two frames define the visual endpoints, and your prompt specifies how the camera moves between them.
Common mistakes and fixes
The most common mistake is using start and end frames that are too visually different. If the AI cannot find a plausible path between your two images, the result will look glitchy. Keep both frames in the same general scene with the same lighting conditions.
Another frequent issue is overloading the text prompt when using reference frames. The frames already define the visual, so your prompt should focus on movement and timing. Remove redundant descriptions of elements already visible in your reference images.
Resolution matters: use high-quality reference images (at least 1080p). Low-resolution or blurry start frames produce lower quality video output.
Where to practice
Tona.AI provides access to Kling 3.0's start and end frame feature alongside Nano Banana 2 for generating reference images — all from the same dashboard. Start with the free credits to practice, then scale up as your technique improves. The combination of image generation for references and video generation with frame control creates a complete workflow for consistent, professional AI videos.